

What Zone-Based Organization Actually Means
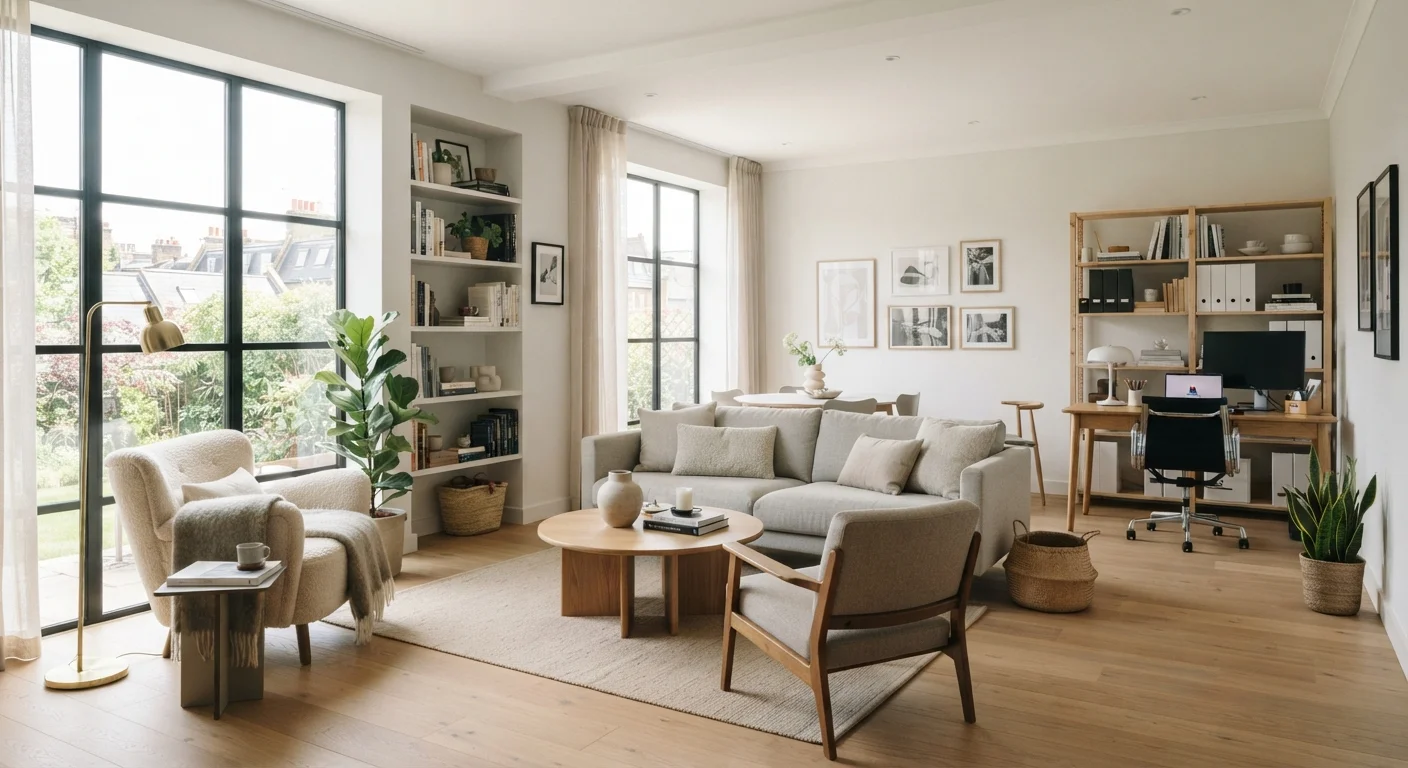
Zone-based organization is a method that assigns a defined purpose to each area of your home, so every object has a logical location and every activity has a designated space. Rather than organizing room by room - which treats physical walls as the primary unit - zone-based thinking treats activities as the organizing principle. A single room may contain two or three zones; a zone may span parts of two adjacent rooms.
The practical effect is significant: when zones are clear, tidying becomes a matter of returning items to a known location rather than making a judgment call each time. Decision fatigue drops. Household members - regardless of their individual tidiness preferences - can follow a system that makes intuitive sense.
Zone-based organization also scales. It works in a 400-square-foot studio and in a five-bedroom house. The number and size of zones adjust to the space and lifestyle, but the underlying logic stays the same: form follows function.
What you will need
How to Set Up Your Zones: Step-by-Step
The steps below walk you through assessing your home, defining zones that match your real habits, and equipping each zone so it stays functional. Work through them in order - skipping the observation and mapping phases often leads to zones that look organized but break down within weeks.
Notepad or digital notes app
Record observations about how each area is currently used and what activities happen there.
Measuring tape
Measure zones accurately to ensure storage solutions will fit the designated space.
Label maker or sticky notes
Temporarily or permanently mark zone boundaries and storage containers during setup.
Storage bins or baskets
Contain items within each zone and reinforce visual separation between areas.
Observe how your household actually uses each space
Before rearranging anything, spend a day or two noticing where activities naturally happen. Where do bags land when people come home? Where is homework done? Where does mail pile up? These patterns reveal your home's de facto zones - the ones people have already voted for with their behavior.
Write down each activity and its current location. Don't judge the habit yet; just document it. This observation step prevents you from designing zones that look logical on paper but clash with how your household actually flows.
Identify the core activity categories in your home
Group the activities you recorded into broad categories: entry and transit, food and cooking, work or study, rest and leisure, fitness or hobbies, and storage. Most households use five to eight categories; small apartments may combine several.
Each category will become one zone. If you share your home with others who have different tidiness preferences, see our guide to organizing shared spaces for strategies that account for multiple stakeholders when defining zones.
Map zones onto your floor plan
Sketch a simple overhead view of your home - it doesn't need to be architectural. Mark where each zone will live based on proximity to relevant utilities and natural traffic flow. The cooking zone belongs near the kitchen; the work zone needs strong lighting and minimal foot traffic; the entry zone should be immediately inside the front door.
Zones don't require walls. In open-plan spaces, a rug, a change in lighting, or a row of shelving can signal a boundary just as effectively. If space is extremely limited, our guide to organizing a small apartment covers zone strategies for compact floor plans.
Declutter each zone before filling it
Once boundaries are mapped, go zone by zone and remove everything that doesn't belong. Set aside misplaced items in a temporary holding box - these will be redistributed once all zones are defined. Within each zone, remove duplicates, expired items, and objects that no longer serve the zone's purpose.
This is also the right moment to ask whether every item in the zone genuinely earns its place. Different decluttering frameworks approach this question differently - the KonMari method and other decluttering philosophies offer structured ways to make those decisions systematically.
Assign storage that supports each zone's function
Match storage solutions to the specific demands of each zone. A cooking zone needs accessible, frequently-used items at counter level and rarely-used tools stored higher or lower. An entry zone benefits from hooks, a tray for keys, and a small basket for mail. A work zone needs clear desk space and contained cable management.
The goal is to make returning items to their zone easier than leaving them out. When storage adds friction - lids that are hard to replace, bins stacked too deep - items migrate, and zones collapse. For a complete room-by-room audit, use the room-by-room organization checklist as a companion reference.
Build habits that keep zones intact
Zone setup is a one-time effort; zone maintenance is a daily practice. The most effective habit is a brief end-of-day reset - five to ten minutes of returning out-of-place items to their zones. This prevents small drift from becoming a full reorganization project.
Pair zone maintenance with the one-in-one-out rule and other clutter-prevention habits to limit the volume of items competing for zone space. Also consider rotating seasonal items out of active zones - our seasonal organization guide explains how to cycle gear and décor efficiently so zones stay functional year-round.
Start With the Highest-Traffic Zone
If the full zone setup feels overwhelming, begin with the space that causes the most daily friction - often the entryway or kitchen counter. A single well-functioning zone demonstrates the method's value quickly and builds motivation to continue. You can add zones incrementally over days or weeks without waiting until the whole home is ready.
Troubleshooting Common Zone Problems
Even well-designed zones encounter friction. Here are the most common issues and how to address them:
- Items keep migrating out of their zone. This usually means the storage within the zone adds too much friction. Swap lidded containers for open trays, move frequently-used items to eye level, or relocate the zone closer to where the activity actually happens.
- One zone becomes a catch-all. Entry zones and kitchen counters are especially prone to this. Add a dedicated tray or basket for incoming items and schedule a daily two-minute clear to keep it from accumulating.
- Zones conflict in shared spaces. When multiple people use the same zone differently, explicit labeling and agreed-upon reset times help more than redesigning the storage. Open conversations about expectations matter as much as physical setup.
- The system works initially but fades after a few weeks. This is a habit gap, not a design flaw. A brief daily reset - rather than a weekly overhaul - is what sustains zones over time. Review whether your zones still reflect how you actually use your home; life changes, and zones should adapt.
Avoid Over-Engineering Your Zones
Highly elaborate zone systems with numerous sub-categories and specialized containers can be harder to maintain than simpler setups. If a zone requires a detailed instruction sheet to use correctly, it is probably too complex. Aim for a system that any household member can follow instinctively after a single walkthrough.
Zone-based organization is not a one-size-fits-all prescription. Treat it as a flexible framework - one you refine as your household's needs evolve - rather than a rigid standard to measure against.
The content on this site is for informational purposes only and is not a substitute for professional advice. Always consult a qualified professional for guidance specific to your situation.