

Why Seasonal Deck Maintenance Pays Off
A deck takes more weather abuse than almost any other part of your home - rain, UV exposure, freeze-thaw cycles, and foot traffic wear it down year-round. Without consistent attention, what starts as a surface problem (fading, cracking) can quietly become a structural one (rotting joists, loose ledger boards). The good news: a predictable maintenance routine keeps the majority of decks in safe, attractive condition for decades.
Think of deck care in three overlapping disciplines: cleaning, sealing, and structural inspection. Each feeds into the others - you can't seal effectively over dirt, and you can't catch hidden rot without getting close to the framing. This guide walks through each discipline season by season so you know what to do and when. For a full picture of exterior home upkeep, our annual maintenance calendar pairs well with this article.
Spring: Inspection and Cleaning Before the Season Starts
Spring is the most important season for deck care. Winter moisture, freeze-thaw movement, and any accumulated debris have done their worst - and now is your chance to assess the damage before summer use begins.
Structural Inspection Checklist
- Ledger board: The board where the deck attaches to your house is the single most critical connection. Look for gaps, rot, or missing lag screws. Water infiltration here can damage the house structure behind it. If anything looks compromised, consult a licensed contractor - this is not a DIY repair to rush.
- Posts and footings: Push on posts firmly. Any wobble warrants a closer look. Check that concrete footings are intact and that posts aren't sitting in standing water or showing soft spots at the base.
- Joists and beams: Use a screwdriver to probe the wood. If the tip sinks in with little resistance, the wood is rotting from within. Pay special attention to where joists meet the ledger and where beams rest on posts.
- Decking boards: Walk every board and note any that flex excessively, have raised edges, or show gray-black staining (a sign of moisture-driven rot).
- Fasteners: Popped nail heads, corroded screws, or loose hardware are common after winter. Replace with corrosion-resistant screws rated for your decking material.
- Railings: Grab each section and apply lateral force. Any give beyond minimal flex is a safety issue - railings must meet local code for load resistance.
Composite and PVC Decks Have Different Needs
Composite and PVC decking don't rot, but they still require maintenance. They can develop mold and mildew staining and may scratch or fade without care. Use cleaners specifically formulated for composite materials - standard wood brighteners or harsh solvents can damage the surface finish. Most composite manufacturers publish maintenance guidelines; following them also helps preserve any warranty coverage.
Spring Cleaning
After inspection, sweep debris from between boards using a stiff broom or blower. Then wash the surface with a deck cleaner appropriate for your material - wood, composite, or PVC - following product instructions carefully. A garden hose with adequate pressure handles light cleaning; a pressure washer on a low, wide-fan setting works for heavier grime. Never use a narrow pressure-washer tip on wood decking - it will raise grain and cause permanent damage.
Sealing and Staining: Getting the Timing and Product Right
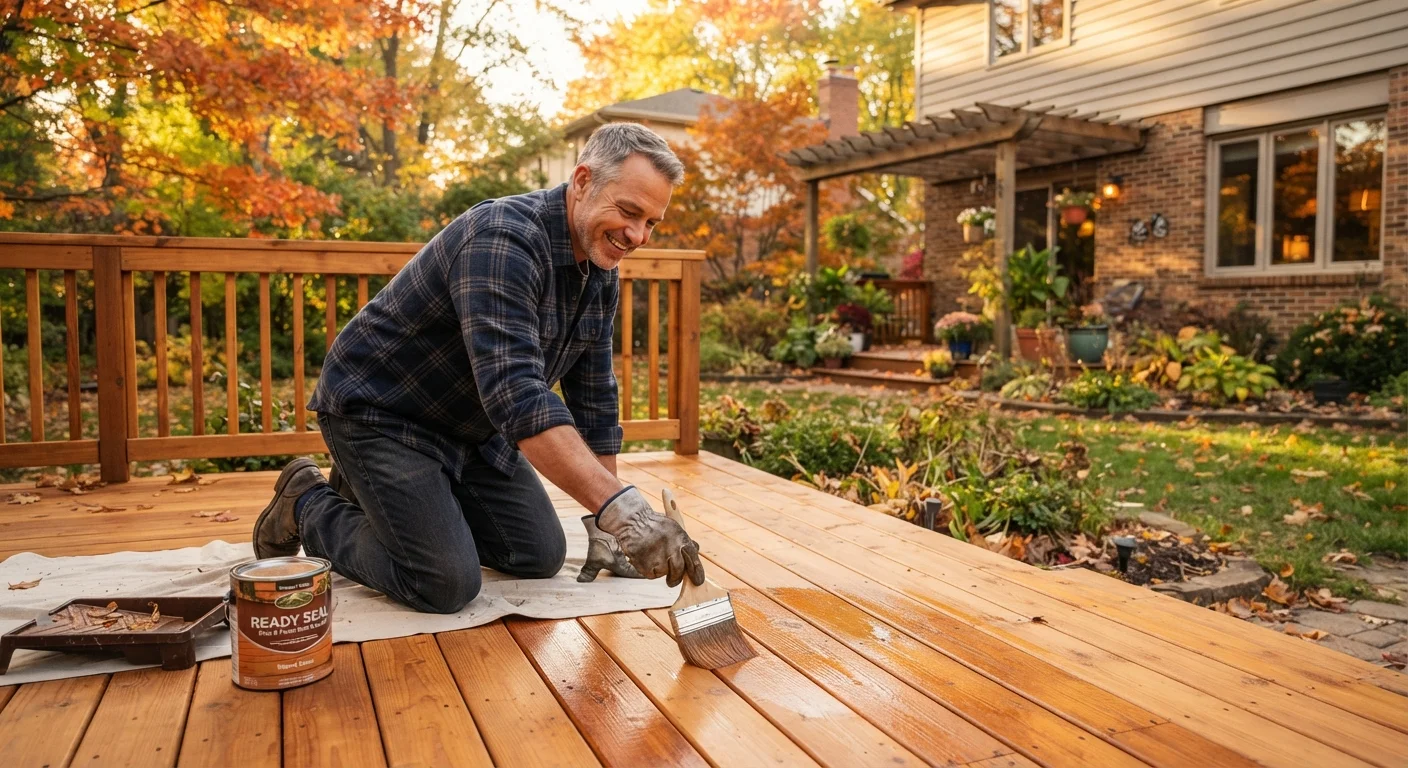
Sealing is the most impactful maintenance step you can take, but only if the surface is genuinely clean and dry. Apply sealant to a dirty or damp deck and you lock in moisture, accelerating the rot you were trying to prevent.
Allow the deck surface to dry completely - at least 48 hours after rain - before applying any sealant or stain.
Sealant applied over damp wood traps moisture beneath the film, creating conditions for mold and accelerated decay. Proper drying ensures the product penetrates and bonds correctly.
Use a deck cleaner or brightener formulated for your specific decking material before sealing.
Wood brighteners restore pH balance and open grain structure, allowing penetrating sealants to absorb evenly. Composite cleaners remove mold without damaging the material's surface texture.
Apply sealant in thin, even coats rather than flooding the surface.
Excess product puddles and forms a surface film that peels, rather than penetrating the wood fibers where protection actually matters. Thin coats also dry more uniformly.
Perform the water-bead test annually to determine whether resealing is needed.
Visual inspection alone cannot reliably tell you when sealant protection has degraded. The bead test gives a direct functional read on water repellency without guesswork.
Once sealed correctly, most products repel water effectively for one to three years. Do the simple bead test annually: sprinkle water on the deck - if it beads up, the sealant is still working. If it soaks in within a few seconds, it's time to reapply. Plan sealing for late spring or early fall when temperatures are moderate and rain is unlikely for at least 48 hours after application.
Summer and Fall: Ongoing Care and Pre-Winter Prep
During peak use, keep the deck surface clear of leaves, soil, and plant debris - organic matter traps moisture and accelerates wood degradation. Move planters periodically so water doesn't pool beneath them, and use furniture pads to prevent scratching composite surfaces.
In fall, the priority is preparing for winter. Clear all debris thoroughly - especially from between boards - before freezing temperatures arrive. Trapped wet leaves accelerate staining and rot. Inspect fasteners one more time before snow or ice arrive, because loose boards become hazardous when slippery. Consider storing fabric cushions and lightweight furniture indoors to reduce moisture-related wear.
As part of your broader exterior upkeep, fall is also a good time to check that any caulking or flashing around the ledger connection is intact - water intrusion at this junction is a leading cause of structural deck failures. Our guide on maintaining exterior seals and frames covers related concepts for doors and windows.
Knowing When to Replace Boards, Fasteners, or the Whole Deck
Not every problem can be maintained away. A board with isolated surface cracking can be sanded and sealed, but a board that is soft, sunken, or separating at the grain is past saving and should be replaced. Swapping individual boards is a manageable DIY task for most homeowners - just match species, thickness, and fastener type carefully.
Fastener replacement is similarly straightforward: remove old nails or screws and replace with corrosion-resistant deck screws at the correct length for your board thickness. Pre-drill near ends to prevent splitting.
Structural repairs - replacing joists, beams, posts, or the ledger connection - are a different category entirely. These components are load-bearing and in many jurisdictions require a permit and licensed contractor. Attempting structural repairs without proper knowledge or permits risks both injury and code violations that can surface during a home sale. Deck replacement itself should be evaluated when more than 30% of boards need replacing, structural members show widespread rot, or the deck predates modern code requirements. This kind of project fits naturally into a broader seasonal home maintenance plan that helps you budget and schedule major work proactively.
This article is for general informational purposes only. Structural repairs, permits, and safety requirements vary by location - consult a licensed contractor and verify local building codes before undertaking any structural deck work.
The content on this site is for informational purposes only and is not a substitute for professional advice. Always consult a qualified professional for guidance specific to your situation.