

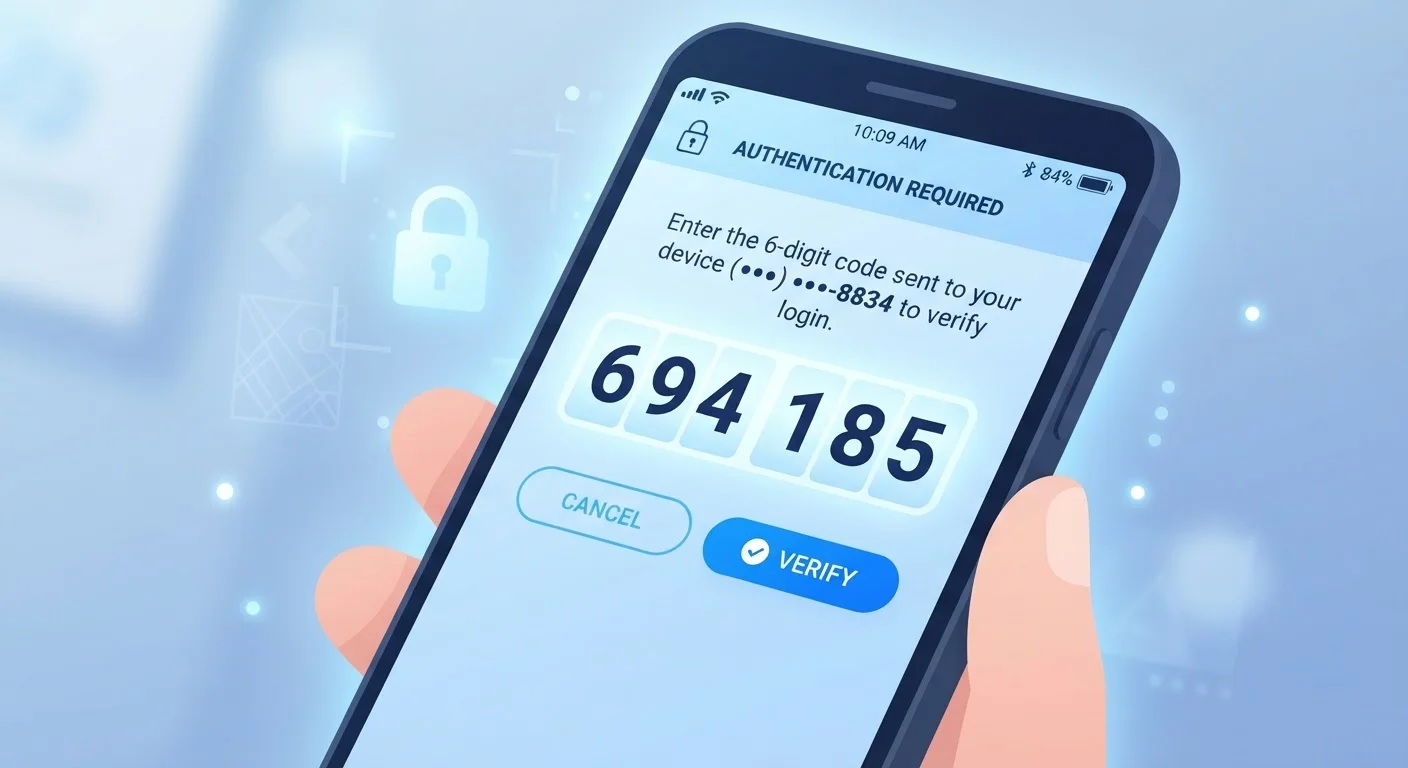
What Two-Factor Authentication Actually Does
Two-factor authentication — commonly abbreviated as 2FA — is a security method that requires two separate forms of verification before granting access to an account. The first factor is something you know (your password). The second factor is something you have (a code sent to your phone or generated by an app) or something you are (a fingerprint or face scan).
The practical result: if a cybercriminal steals or guesses your password, they still cannot access your account without also controlling your second factor. This is why security professionals consistently recommend 2FA as one of the most impactful steps an everyday user can take. It doesn't make an account impenetrable, but it raises the barrier significantly for most real-world attacks.
Common 2FA methods include:
- SMS text codes — a one-time code sent to your phone number
- Authenticator apps — apps like Google Authenticator or Authy that generate time-based codes locally on your device
- Push notifications — an approval request sent to a trusted device
- Hardware security keys — physical USB or NFC devices used as a second factor
Not all methods are equally strong. Our breakdown of 2FA methods by strength explains the differences in detail, but for most users, an authenticator app is a significant upgrade over SMS alone.
Start With Your Email Account
Your primary email address is the master key to your digital life — it receives password reset links for nearly every other service you use. Enabling 2FA on your email account first provides the greatest immediate security benefit. Once that's done, work through financial accounts, then social media and other services.
Before You Start: What You'll Need
Setting up 2FA is straightforward on most devices and platforms. Gather the following before you begin:
What you will need
If you're working through broader smartphone security for the first time, our guide on keeping your smartphone safe covers the wider picture — 2FA fits into a layered approach that also includes app hygiene and physical device protection.
How to Enable Two-Factor Authentication
The steps below follow the general pattern used by most major platforms. The exact menu labels vary slightly between services, but the structure is nearly universal.
Log in and open your account's security settings
Sign in to the account you want to protect — start with your primary email, as it is the gateway to password resets for most other accounts. Navigate to Settings, then look for a section labelled Security, Privacy & Security, or Account. This is where 2FA or "Two-Step Verification" options are typically located.
Select 'Turn on two-factor authentication'
Click or tap the option to enable 2FA. Most platforms will prompt you to confirm your password again before proceeding — this is a security check, not an error. Read any introductory screen the platform presents; it will usually outline which 2FA methods are available for that service.
Choose your second-factor method
Select how you want to receive your verification code. Options typically include:
- Authenticator app — generates a new six-digit code every 30 seconds; does not require a cell signal
- SMS text message — sends a code to your phone number; easier to set up but more vulnerable to SIM-swapping attacks
- Email code — sends a code to a backup email address
If your account supports an authenticator app, choose that option for stronger protection.
Link your authenticator app or phone number
If you chose an authenticator app: the platform will display a QR code. Open your authenticator app, tap the option to add a new account (often a + button), and scan the QR code with your phone's camera. The app will immediately begin generating codes for that account.
If you chose SMS: enter your phone number when prompted. The platform will send a test code to confirm the number is correct.
Enter the verification code to confirm setup
The platform will ask you to enter a code to confirm the connection is working. If using an authenticator app, open the app and enter the six-digit code shown for that account. If using SMS, enter the code sent to your phone. Enter it promptly — time-based codes expire after 30 seconds.
Save your backup codes
Most platforms will generate a set of single-use backup codes after 2FA is enabled. These are emergency codes you can use to access your account if you ever lose your phone or can't receive your second factor. Save them securely — print them and store them somewhere safe, or save them in a password manager.
Don't Lock Yourself Out
Before finishing setup, confirm you have a reliable way to receive your second factor in the future — whether that's access to your authenticator app or your phone number. Always save backup codes when offered. If you switch phones or lose your device, having backup codes or a second registered method prevents being locked out of your own accounts.
Once 2FA is active across your key accounts, consider scheduling a regular review. Our monthly digital security audit checklist helps you stay on top of account access, permissions, and passwords as a recurring habit.
The content on this site is for informational purposes only and is not a substitute for professional advice. Always consult a qualified professional for guidance specific to your situation.