

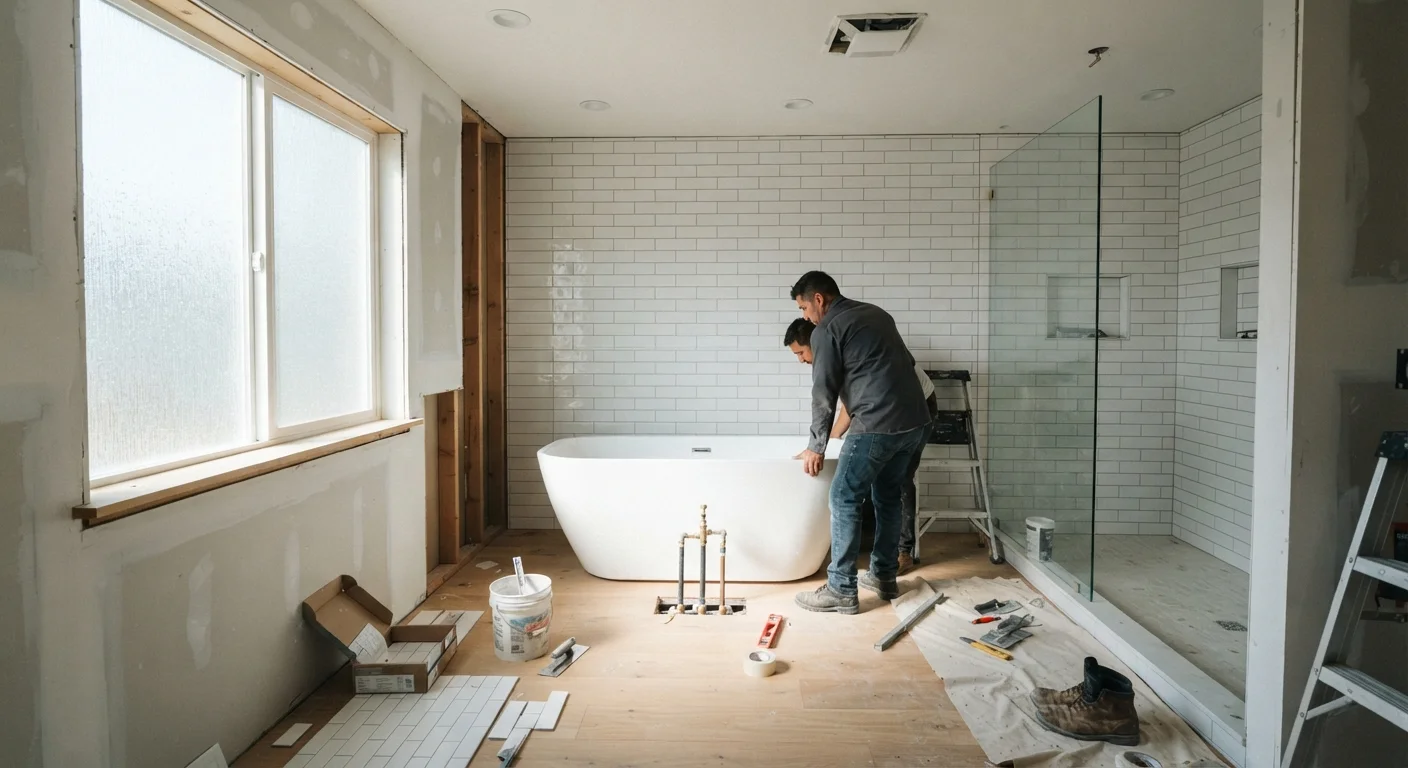
Set Your Scope and Budget First
The single most effective thing you can do before picking a single tile or fixture is to define exactly what you are - and are not - changing. A cosmetic refresh (new vanity, paint, lighting) is a fundamentally different project from a full gut renovation that moves the toilet or relocates a shower. Conflating the two is how projects spiral.
Draft a written scope list: every item you plan to replace or relocate. Then build your budget with a 15-20% contingency buffer for surprises behind walls - moisture damage, outdated wiring, or out-of-plumb framing are common in bathrooms more than a decade old.
For broader context on keeping a home project organized across rooms, see the room-by-room organization checklist for a structured audit approach. And if this is your first remodel, the home improvement guide for first-time homeowners covers foundational terminology worth knowing before you start.
Build Your Budget With a Contingency
Add 15-20% to your estimated project cost as a contingency before you start. In bathrooms specifically, hidden moisture damage, outdated plumbing connections, and out-of-code wiring are discovered in the majority of gut renovations. A contingency keeps the project moving rather than forcing a pause.
Permits, Codes, and When to Hire Licensed Trades
Most municipalities require permits for any work that moves or adds plumbing supply or drain lines, alters electrical circuits, or changes the venting system. Skipping permits is not a shortcut - it creates disclosure problems when you sell and can void homeowner's insurance coverage for related damage.
Electrical work in bathrooms is particularly regulated because of the proximity to water. GFCI protection requirements, exhaust fan circuit sizing, and lighting fixture ratings near wet zones are all governed by the National Electrical Code (NEC) and enforced locally. Similarly, any drain or supply relocation should be handled by a licensed plumber. Tile-setting, vanity installation, and painting are generally homeowner-DIY-friendly - the licensed work bookends the project.
TV renovations make this look frictionless. They are not. Our guide to what renovation shows don't tell you covers exactly which realities get edited out of those timelines.
Permits Protect Your Investment
Unpermitted plumbing and electrical work can complicate or prevent a home sale, and may void homeowner's insurance claims related to that work. The cost of a permit is a small fraction of the project budget. Contact your local building department early - permit timelines vary from days to several weeks depending on your municipality.
Demolition and Substrate Prep
Once permits are in hand and trades are scheduled, demolition begins. Work from the top down: remove light fixtures and mirrors, then vanity, then toilet, then floor tile, then wall tile. Contain dust with plastic sheeting across the doorway - bathroom demo generates fine silica dust from old tile mortar that requires an N95 respirator at minimum.
Substrate inspection follows demolition and is arguably more important. Look for soft spots in the subfloor (a sign of prior water infiltration), check that wall studs are plumb and undamaged, and probe for any black mold on the backside of removed drywall. Any compromised substrate must be remediated before new material goes over it - moisture problems that are covered up return as larger failures within a few years.
~$12,000
Median mid-range bathroom remodel cost
According to Remodeling Magazine's Cost vs. Value report, a mid-range full bathroom remodel historically averages in this range, though costs vary significantly by region and scope.
3-6 weeks
Realistic full remodel timeline
Industry contractors generally cite three to six weeks for a full gut-and-replace bathroom remodel when accounting for permit approvals, material lead times, and trade scheduling.
70%+
Average cost recouped at resale
Bathroom remodels consistently rank among the highest-return home improvement projects at resale, according to multiple years of industry cost-value tracking.
The Correct Trade Sequence
Trade sequencing is where amateur bathroom projects most commonly go wrong. The correct order is:
- Rough plumbing - move or add supply and drain lines before any wall surface goes up.
- Rough electrical - run circuits, place junction boxes, and install exhaust fan housing before closing walls.
- Inspection - rough-in inspection by your local building department before covering any work.
- Cement board or waterproof backer - install behind all wet areas; standard drywall is not rated for shower or tub surrounds.
- Waterproofing membrane - applied over backer in the shower pan and lower walls before any tile.
- Tile installation - floor tile first, then wall tile, allowing full cure time before grouting.
- Vanity, toilet, and fixture trim-out - plumber returns to connect supply lines and drains after surfaces are finished.
- Electrical trim-out - electrician installs devices, cover plates, and the exhaust fan grille after painting.
Attempting to reverse steps - for example, setting floor tile before rough plumbing is inspected - typically means tearing out finished work. Patience at each stage is the most cost-effective tool in the project.
Block off the sequence on a shared calendar with your contractors before demolition begins. Gaps between trades are the primary driver of project delays, not the work itself.
A plumber who arrives before rough electrical is complete - or vice versa - creates idle days that cascade through the entire schedule and add cost.
Order all tile and flooring materials at the same time from the same dye lot. Returning for additional boxes months later often means a visible color variation in the finished floor.
Tile color varies between manufacturing batches; even identical SKUs from the same manufacturer can differ noticeably when installed side by side.
Choosing Materials That Last
Bathroom material selection has real durability stakes because of the constant humidity, temperature swings, and water splash. Porcelain and ceramic tile remain the most durable options for wet zones. If you are weighing a lower-cost flooring alternative, our comparison of tile versus luxury vinyl plank walks through the tradeoffs on moisture resistance, maintenance, and longevity.
For vanity tops, quartz surfaces resist staining better than marble or laminate in high-humidity environments. For grout, unsanded or epoxy grout in joints under 1/8 inch will resist moisture penetration better than sanded grout in fine lines. Specify mold-resistant grout sealant and plan to reseal annually.
Humidity Drives Material Choice
Bathrooms without adequate ventilation create a chronically humid environment that degrades materials faster than the product spec suggests. Before finalizing material choices, confirm your exhaust fan is appropriately sized for the room's square footage - the Home Ventilating Institute (HVI) publishes sizing guidelines. Proper ventilation extends the life of every surface you install.
Final Finishes and Punch-Out
The punch-out phase - the last 10% of a remodel - often takes 20% of the total time. This is where caulk lines are perfected, mirror and accessory hardware is installed at the correct height, door hardware is adjusted for the new door clearance, and the exhaust fan is confirmed to vent fully to the exterior (not just into the attic).
Conduct a final walk-through with a written checklist: run every faucet and check for drips, flush the toilet and confirm tank fill, test GFCI outlets by pressing the test button, run the exhaust fan and verify you feel draw at the grille, and inspect all caulk joints for gaps or voids.
Schedule the final inspection with your building department before closing any access panels and before considering the project complete. File your permit sign-off card with your home records. For ongoing upkeep after the remodel, the home maintenance hub provides seasonal checklists that protect your investment long after the last tile is set.
This article provides general home improvement information and education. Requirements for permits, licensed trades, and building codes vary by location. Always verify local regulations with your municipality and consult qualified, licensed professionals before beginning work that involves plumbing, electrical, structural, or other regulated systems.
The content on this site is for informational purposes only and is not a substitute for professional advice. Always consult a qualified professional for guidance specific to your situation.