

Understanding What You're Working With
Standard interior walls are built from gypsum drywall panels - a plaster core sandwiched between paper facing - typically ½ inch or 5/8 inch thick. The material is durable under normal use but dents, crumbles, and tears fairly easily from impacts, fasteners, and wear. Understanding the structure helps you choose the right repair approach and avoid making damage worse.
Most drywall repairs fall into three categories by size, each calling for a different set of materials and techniques. Small surface blemishes - nail holes, minor dings, and hairline cracks - need only a thin fill of spackling or lightweight compound. Mid-size holes left by doorknob impacts or removed anchors need a mesh patch as a bridging base. Holes larger than roughly six inches require a structural approach: cutting clean edges, inserting a backer, and installing a new piece of drywall.
If you are unsure whether a repair is truly DIY-appropriate, our guide to DIY versus hiring a pro can help you assess the risk level before you start cutting.
Check for Wiring Before Cutting
Before cutting into drywall for any repair larger than a surface ding, check for electrical wiring, plumbing, or structural framing behind the wall. Use an inexpensive stud finder with AC wire detection. Cutting into a live wire is a serious safety hazard and may require licensed electrical work to correct.
Gather your tools and materials below before starting. Having everything within reach prevents the common mistake of applying compound and then walking away, letting it skin over unevenly before you finish spreading it.
Spackling compound or lightweight joint compound
Fills holes and imperfections; spackling suits small repairs while joint compound is better for larger patches requiring multiple coats.
Putty knife or taping knife (4-6 inch)
Applies and smooths compound over the repair area.
Self-adhesive mesh patch
Bridges medium-sized holes (roughly 2-6 inches) and provides a surface for compound to bond to.
Drywall backer board or wooden furring strip
Provides structural backing for large hole repairs that require a new drywall piece.
Drywall screws and cordless drill
Secures backer boards and new drywall panels in place.
Sanding sponge or 120-150 grit sandpaper
Smooths dried compound between coats and before priming.
Drywall primer
Seals the repaired area before paint to prevent sheen and color variation.
Stud finder with AC detection
Locates framing and identifies hidden electrical wiring before cutting into walls.
Step-by-Step Repair Process
Work through each step in order. Rushing the process - particularly the drying time between compound coats - is the single most common reason patches crack, shrink, or show through paint. Budget the full time estimate shown at the top of this article, keeping in mind that most of it is passive drying time rather than active work.
What you will need
Assess the hole and choose your method
Measure the damaged area before reaching for any product. A general rule of thumb:
- Nail holes and small dings (under ½ inch): Spackling compound applied with a fingertip or putty knife.
- Medium holes (½ inch to 6 inches): A self-adhesive fiberglass mesh patch backed with joint compound.
- Large holes (over 6 inches): A cut drywall patch secured to backer boards, then taped and mudded like new construction.
Prepare the damaged area
Remove any loose paper facing, crumbling gypsum, or debris from around the hole. For nail pops, drive the popped fastener back below the surface with a screwdriver, then drive a new drywall screw 2 inches above and below it to hold the panel firmly against the stud. Wipe the wall surface clean and let it dry if there is any moisture present.
Apply the patch backing (medium and large holes)
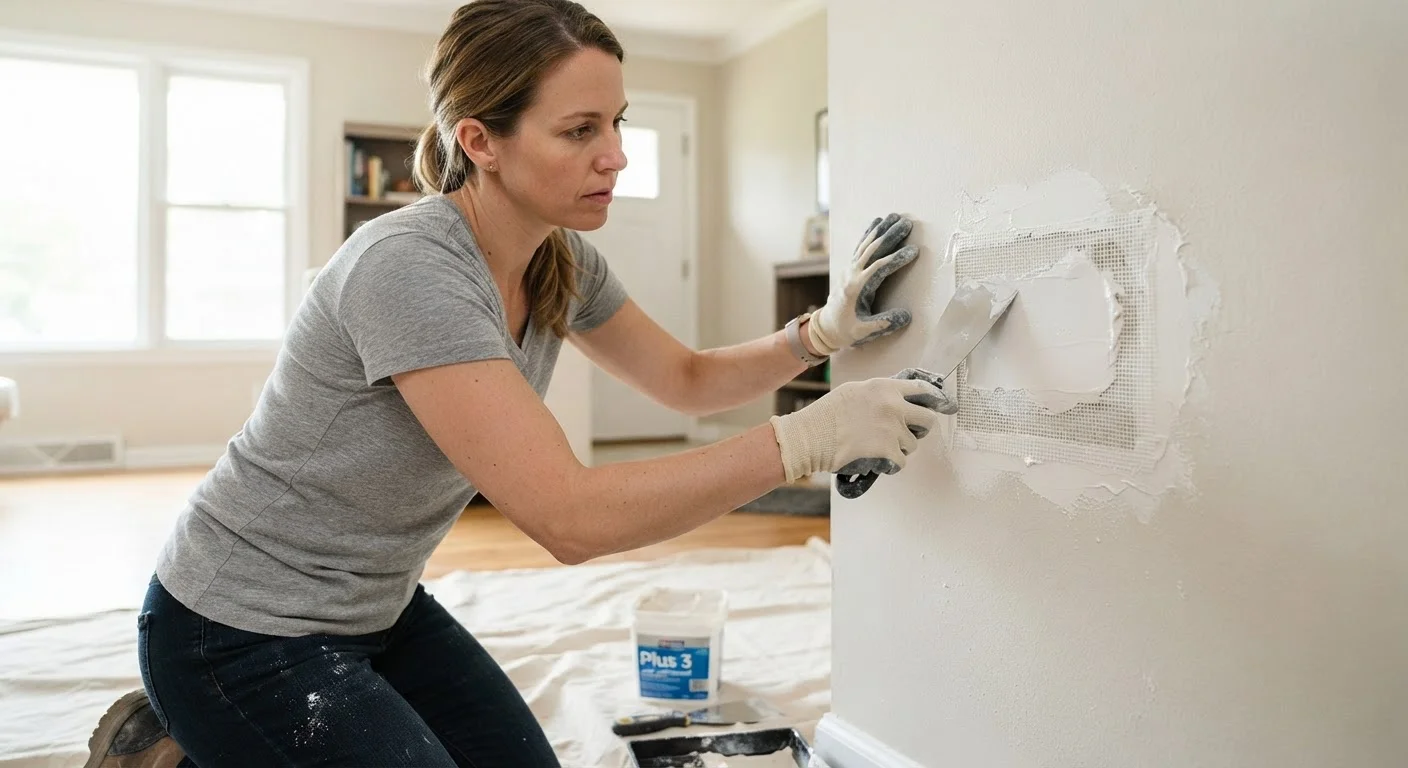
For medium holes: Center a self-adhesive mesh patch over the opening and press firmly to the wall. Ensure all edges of the hole are covered by the mesh.
For large holes: Cut the damaged area into a clean rectangle using a drywall saw. Cut lengths of 2×4 lumber or furring strips and insert them inside the wall cavity, screwing through the existing drywall from the front to hold them in place as a backer. Cut a new drywall piece to fit the opening and screw it into the backer boards.
Apply the first coat of joint compound
Using a 4-6 inch taping knife, spread joint compound over the patch, pressing firmly to fill any gaps in the mesh or seams around a new drywall insert. For large patches, embed paper drywall tape over the seams first, then apply compound over the tape. Feather the edges outward several inches beyond the patch. Scrape off excess compound so the first coat is as thin and flat as possible. Allow to dry fully - typically 24 hours at normal indoor conditions.
Sand, then apply additional coats
Once the first coat is completely dry, lightly sand with 120-150 grit sandpaper or a damp sanding sponge until the surface is smooth and the edges blend into the surrounding wall. Wipe away dust with a slightly damp cloth. Apply a second coat of compound, feathering even wider than the first. Most repairs need two to three coats total. Sand lightly between each coat. The final coat should be very thin - almost translucent - and sanded smooth enough that you cannot feel the edge of the patch by running your hand across it.
Prime and paint the repaired area
Apply a coat of drywall primer to the entire repaired area before painting. Fresh joint compound is highly porous and will absorb paint unevenly - creating a dull, flat spot called flashing - if you skip priming. Once the primer is dry, paint the repair to match the surrounding wall. For the most consistent sheen, plan to roll the entire wall section rather than spot-painting just the patch. See our guide to surface prep and priming for technique tips that carry a paint job from acceptable to professional-looking.
Feather Wide for an Invisible Finish
The secret to a patch that disappears under paint is feathering your compound at least 6-8 inches beyond the patch edge on each successive coat. Each coat should be wider and thinner than the last. This gradual taper prevents the telltale ridge that shows through paint.
Don't Skip the Drying Time
Applying a second coat of joint compound over a coat that is still wet - even if it feels firm on the surface - leads to cracking as the material dries unevenly. Allow each coat to dry fully (typically 24 hours in normal conditions) before sanding or recoating. High humidity will extend drying time.
Once repairs are complete and painted, consider whether gaps around trim, window frames, or baseboards also need attention. Our article on common caulking mistakes covers the prep and product choices that make the difference between a caulk joint that lasts and one that peels within months. And if you are getting ahead of a cold season, weatherproofing your home before winter is a natural next step after interior repairs are wrapped up.
The content on this site is for informational purposes only and is not a substitute for professional advice. Always consult a qualified professional for guidance specific to your situation.