

Where Heat Actually Escapes
Before buying a single tube of caulk, it helps to understand where air infiltration typically occurs. Energy research consistently shows that the attic floor, basement rim joists, and the spaces around doors and windows are the biggest sources of uncontrolled air exchange in most houses. Less obvious culprits include recessed light fixtures in ceilings, gaps around plumbing and electrical penetrations, fireplace dampers, and even unsealed electrical outlets on exterior walls.
Weatherproofing fits naturally into a broader home maintenance routine. If you already follow a seasonal schedule, see our annual maintenance calendar for how this task connects to fall prep as a whole.
What you will need
To find leaks before you fix them, walk the perimeter of your home on a cold, windy day and hold a lit incense stick or thin candle near suspected gaps. Smoke that wavers or streams horizontally indicates airflow. On the exterior, look for visible daylight around door frames, cracked caulk seams, or gaps where different materials - such as siding and a window frame - meet.
Tools and Materials You Will Need
Gathering the right supplies before you start keeps the work efficient. Most weatherproofing projects require only basic materials available at any hardware store.
Caulk gun and paintable latex or silicone caulk
Seals stationary cracks and gaps along window frames, door casings, and where trim meets siding.
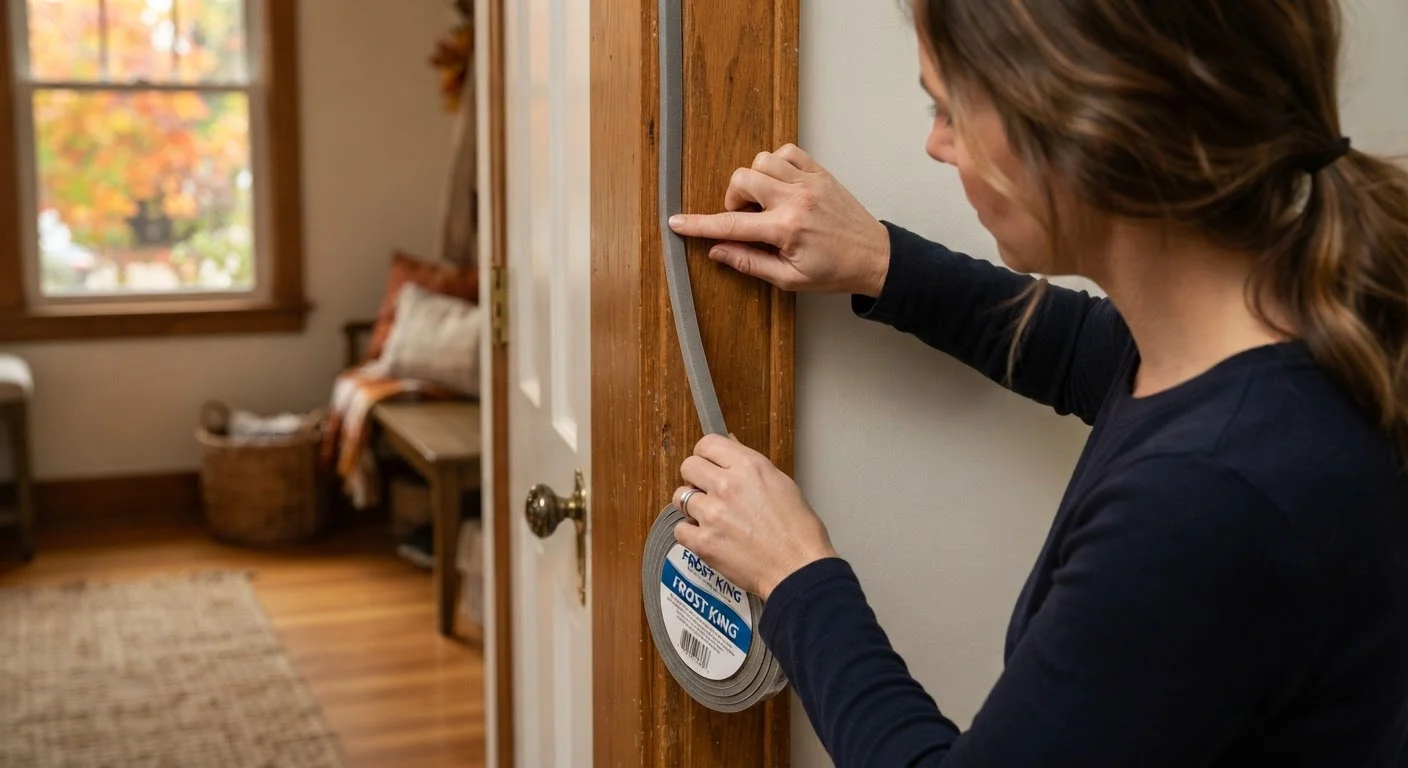
Foam weatherstripping tape
Compresses to fill gaps around door and window frames that open and close.
Expanding spray foam (low-expansion formula)
Fills larger, irregular gaps around pipes, wires, and rim joists where caulk won't reach.
Door sweep or door shoe
Closes the gap between the bottom of an exterior door and the threshold to stop cold air and drafts.
Outlet gaskets (foam insulating pads)
Fits behind outlet and switch cover plates on exterior walls to block cold air infiltration.
Utility knife and putty knife
Removes old, failed caulk and weatherstripping before new material is applied.
Incense sticks or thin candle
Used to detect air movement near suspected leak points before sealing.
For caulk application best practices - including surface prep, bead technique, and how to avoid premature failure - see our companion guide on why caulk fails and how to apply it correctly.
Step-by-Step: Sealing Your Home
Work from the top of the house down - starting at the attic and finishing at the basement - to ensure you don't miss gaps that funnel air through multiple floors. Follow the steps below in order.
Inspect and map all air leaks
Walk through the house systematically - attic, living spaces, basement - and mark every gap, crack, or unsealed penetration with painter's tape or a sticky note. Check around window and door frames, pipe and wire penetrations through walls and floors, attic hatch edges, recessed ceiling lights, fireplace dampers, and electrical outlets on exterior walls. Create a simple list before purchasing materials so you buy only what you need.
Remove old, failed caulk and weatherstripping
Use a putty knife or utility knife to cut away existing caulk that has cracked, separated, or gone brittle. Pull off old foam weatherstripping completely, including any adhesive residue. Applying new material over failed old material is one of the most common reasons repairs don't last. Clean the surface with a dry cloth before proceeding.
Apply weatherstripping to door and window frames
Cut foam or V-strip weatherstripping to length and press firmly into the door stop - the narrow ledge the door closes against - along the top and both sides of the frame. For double-hung windows, apply to the meeting rail and the sill channel. Close the door or window to confirm a snug fit without excessive resistance. Replace the door sweep if the gap at the threshold allows light through.
Caulk stationary gaps around windows, doors, and trim
Load a caulk tube into the gun and cut the nozzle at a shallow angle to produce a bead roughly the width of the gap. Hold the gun at a consistent 45-degree angle and pull it steadily along the joint - don't push. Smooth the bead immediately with a wetted finger or caulk tool. Focus on the exterior seam where window and door frames meet siding, and on interior trim where it meets the wall surface.
Seal pipe, wire, and duct penetrations with expanding foam
Use a low-expansion spray foam for gaps around pipes, wires, and ducts that pass through walls, floors, or the rim joist (the framing member that sits on top of the foundation). Insert the straw nozzle and apply in short bursts, filling the gap about halfway - the foam will expand. Wipe away excess before it cures. After full cure (typically 1-2 hours), trim flush with a utility knife if needed.
Install outlet gaskets on exterior walls
Turn off the circuit breaker for the outlet or switch you're working on. Remove the cover plate, slide the foam gasket over the receptacle or switch, and replace the cover plate. Restore power and repeat for all outlets and switches on exterior-facing walls. This is one of the quickest, lowest-cost steps in the entire project.
Check the attic hatch and basement rim joist
The attic hatch is one of the most under-sealed spots in many homes. Add foam weatherstripping around the hatch frame and, if the hatch cover is uninsulated, glue rigid foam board to its top surface. In the basement, inspect the rim joist - the band of framing at the top of the foundation wall - for gaps between the wood and the concrete. Fill with low-expansion foam or cut-to-fit rigid foam board sealed at the edges with caulk.
Seal First, Then Insulate
Air sealing and insulation work together but serve different functions. Adding insulation without sealing gaps first allows air to bypass the insulation entirely, significantly reducing its effectiveness. Always complete air sealing before adding or upgrading insulation in an attic or wall cavity.
When to Call a Professional
Not every air-sealing job is DIY-appropriate. If your inspection reveals large voids in wall cavities, degraded or compressed insulation in the attic, or gaps around gas supply lines, contact a licensed insulation contractor or building performance specialist. Many utilities offer subsidized home energy audits that include blower-door testing - a diagnostic method that depressurizes the house and pinpoints hidden leaks with far more precision than a candle test.
Gas Lines and Structural Work: Call a Pro
Never attempt to seal gaps directly around gas supply lines, vents for combustion appliances, or structural framing members you cannot clearly identify. Improper sealing near these systems can create serious fire, carbon monoxide, or structural risks. A licensed contractor or certified energy auditor can safely address these areas and identify any related code requirements in your jurisdiction.
Insulation and air sealing in the attic are closely related tasks. If you're considering upgrading your attic insulation at the same time, our guide to blown-in, batt, and spray foam attic insulation explains the trade-offs among each approach. For windows and exterior doors that need more than just fresh caulk, see our guide to maintaining window and door seals, hardware, and frames.
Weatherproofing is also a meaningful budget item. Small investments in sealing materials can reduce heating costs over a full winter season, though actual savings depend on your home's size, existing insulation, and local energy rates. For context on how to budget for seasonal home maintenance, see our budgeting basics hub.
The content on this site is for informational purposes only and is not a substitute for professional advice. Always consult a qualified professional for guidance specific to your situation.