

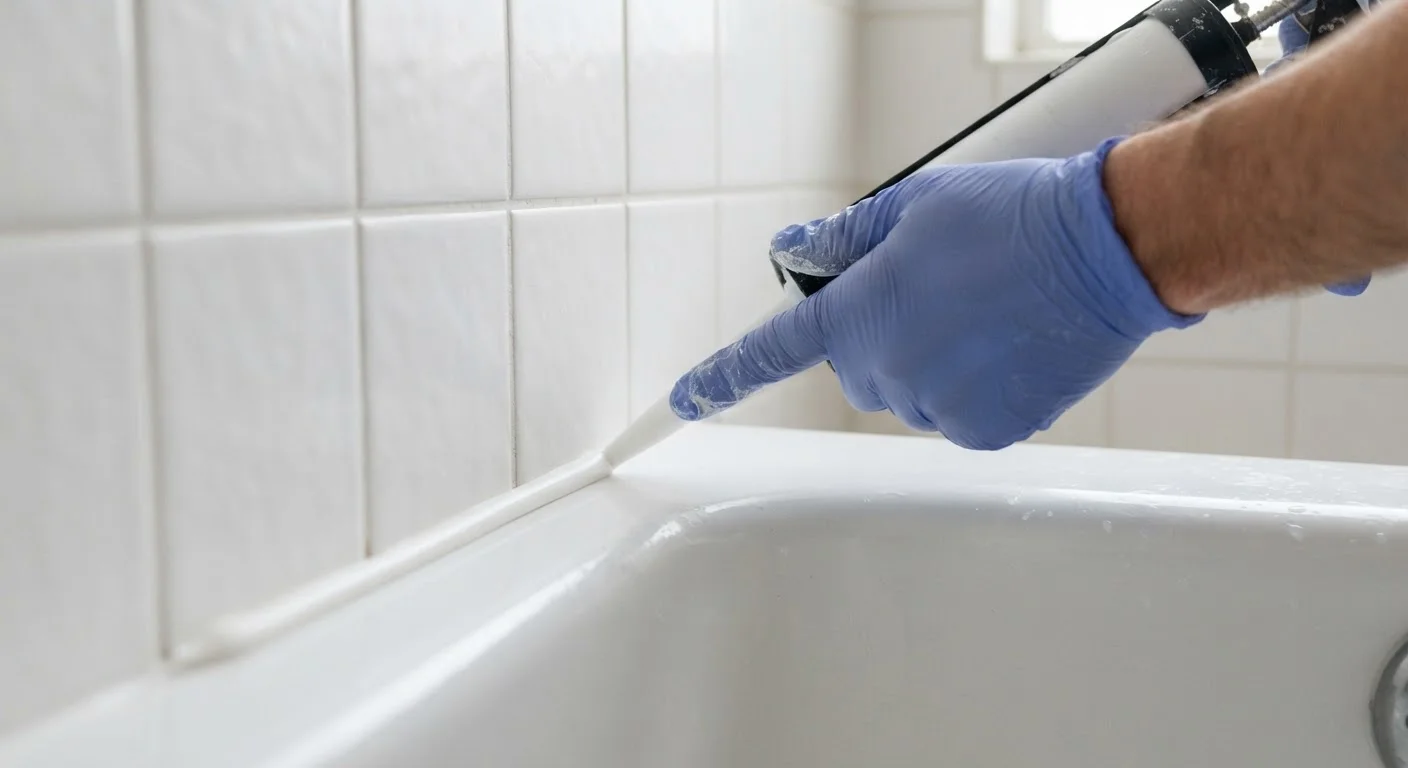
Why Caulking Mistakes Are So Costly
Caulk is one of the most affordable materials a homeowner can buy, yet errors in its application lead to water damage, mold, and energy loss that can cost thousands to repair. The gap between a $6 tube of sealant and a $4,000 subfloor replacement is usually just technique - and a few avoidable missteps.
Most caulking errors fall into predictable patterns: rushing past prep work, grabbing the nearest tube without checking compatibility, or simply not knowing when existing caulk has stopped doing its job. Understanding these pitfalls is the first step toward seals that actually last. For a broader look at how small oversights compound into major expenses over time, see The Hidden Costs of Deferred Home Maintenance.
Caulking over existing caulk without removing it first.
Why it happens: Removing old caulk is tedious, and new caulk seems to cover the problem quickly. Many homeowners assume layering is acceptable because the surface looks sealed.
Using the wrong type of caulk for the location or material.
Why it happens: Caulk tubes look similar on store shelves, and the labeling can be confusing. Homeowners often grab an all-purpose product without checking whether it is rated for their specific application.
Failing to clean and dry the surface before applying caulk.
Why it happens: It is tempting to caulk immediately after noticing a problem. Soap scum, dust, paint residue, and moisture are invisible barriers that prevent adhesion.
Cutting the caulk tube tip too wide or at the wrong angle.
Why it happens: A bigger opening seems to speed up the job. Most instructions on tubes are brief, leaving homeowners to guess at the correct cut.
Not tooling or smoothing the bead after application.
Why it happens: Some homeowners believe the caulk gun creates a finished bead on its own. Skipping smoothing is also a common shortcut when working in tight or awkward spaces.
Disturbing or getting the caulk wet before it fully cures.
Why it happens: Cure times are printed in small text and vary widely - some products feel dry to the touch in an hour but require 24 to 72 hours to fully cure. Homeowners often resume normal use too soon.
Getting the Conditions and Follow-Through Right
Even after choosing the right caulk and prepping the surface properly, application conditions can undermine results. Most silicone and latex caulks require temperatures between 40°F and 90°F and a dry surface to adhere correctly. Applying caulk to a surface that was wet an hour ago - or in a bathroom right after a shower - sets up the bond to fail before it cures.
Never Caulk Over Active Moisture or Mold
Sealing over a damp surface or existing mold growth traps moisture inside the joint, accelerating structural deterioration and mold spread. If you see black or green discoloration in existing caulk, treat the mold, allow the area to dry fully, and then recaulk. Persistent mold in walls or subfloor areas may require professional assessment before any sealing work proceeds.
After laying the bead, tooling matters more than most homeowners realize. Running a wet finger or a caulk tool along the bead at a consistent angle presses the material into the joint and removes air pockets. Skipping this step leaves a rounded, surface-only bead that peels away from one side under normal expansion and contraction.
Caulk is also a maintenance item, not a permanent fix. Inspect joints annually - especially around tubs, showers, windows, and exterior penetrations. If you see cracking, separation, or discoloration, it is time to recaulk. Building this into a seasonal maintenance calendar makes it easy to catch problems before water finds a path inward. For complete technique guidance, our companion guide Why Caulk Fails-and How to Apply It So It Lasts covers every step from surface prep to finishing. Caulking also plays a central role in weatherproofing your home before winter, when sealing gaps around windows, doors, and utility penetrations can meaningfully reduce heat loss.
25-30%
Home heat loss through gaps and cracks
The U.S. Department of Energy estimates that air leaks through gaps, cracks, and openings account for roughly 25-30% of heating and cooling energy use in a typical home.
1-5 years
Typical lifespan of standard latex caulk
Latex caulk in high-moisture or high-movement areas commonly degrades within one to five years, while 100% silicone formulas in similar conditions can last ten or more years.
The content on this site is for informational purposes only and is not a substitute for professional advice. Always consult a qualified professional for guidance specific to your situation.