

Why Preparation Determines the Final Result
Most homeowners underestimate how much of a paint job happens before the roller ever touches a wall. Professionals often spend more time preparing a room than actually applying paint - and that ratio reflects where quality is truly built.
Start by inspecting every surface for cracks, nail holes, dings, and peeling areas. Use a lightweight spackling compound for small holes and a setting-type joint compound for larger repairs. Once dry, sand patches smooth with 120-grit sandpaper, then feather the edges so the repair blends seamlessly into the surrounding wall. Run your hand across the surface - if you can feel the patch, so will the light after painting.
Next, clean the walls. Grease, dust, and residue prevent paint from bonding properly. A solution of warm water and a small amount of trisodium phosphate (TSP) substitute works well on kitchen and bathroom walls. Rinse and allow to dry fully before proceeding. For walls with visible mold or mildew, address the underlying moisture source first - painting over active mold only conceals the problem temporarily. See our guide on common caulking mistakes for related prep pitfalls around windows and trim.
Don't Skip the Final Sand Before Painting
After patching and priming, run a medium-grit sanding sponge lightly over the entire wall surface before your first paint coat. This removes any texture inconsistencies and gives the paint something to grip. It takes less than ten minutes per wall and makes a visible difference in the finished sheen.
Priming: When It's Non-Negotiable
Primer creates a uniform, bonded base that helps topcoat paint achieve full, even color in fewer coats. While some paints are marketed as paint-and-primer-in-one, standalone primer still outperforms them in specific situations.
Apply primer on all bare drywall or plaster before painting.
Unprimed drywall is highly porous and absorbs paint unevenly, resulting in a flat, blotchy finish called 'flashing.' Primer seals the surface so the topcoat spreads uniformly and the color reads true.
Use a stain-blocking primer when covering water stains, smoke, or marker.
Standard primers and paints cannot permanently seal tannin, nicotine, or water stains - they bleed through over time. Shellac-based or oil-based stain-blocking primers chemically isolate these stains and prevent them from reappearing.
Sand lightly between the primer coat and the first paint coat.
Primer can raise the grain on drywall or wood, leaving a slightly rough texture. A light pass with 150- to 180-grit sandpaper smooths this before painting, which helps the topcoat lie flat and reflect light evenly.
Always cut in before rolling the open wall area.
Rolling first and then trying to cut in creates a visible seam because the rolled paint will have dried by the time you reach the edges. Cutting in first keeps the boundary wet for the roller to blend into seamlessly.
Maintain a consistent wet edge when rolling to avoid lap marks.
Lap marks form when a roller overlaps an area of paint that has already begun to dry. Rolling in sections and keeping the leading edge wet ensures each pass blends into the previous one without leaving ridges.
If you're unsure whether your project needs a dedicated primer, err on the side of applying one - it adds modest cost and one drying cycle, but can save you from a third or fourth coat of expensive paint.
2-4
Extra coats needed without primer on bare drywall
Paint industry guidance consistently notes that unprimed surfaces require significantly more topcoat applications to achieve uniform color and sheen.
80%
Of paint job failures linked to inadequate surface prep
Industry professionals broadly attribute the majority of adhesion failures, peeling, and poor coverage to insufficient cleaning, patching, or priming before application.
Cutting In: The Technique That Makes or Breaks Edges
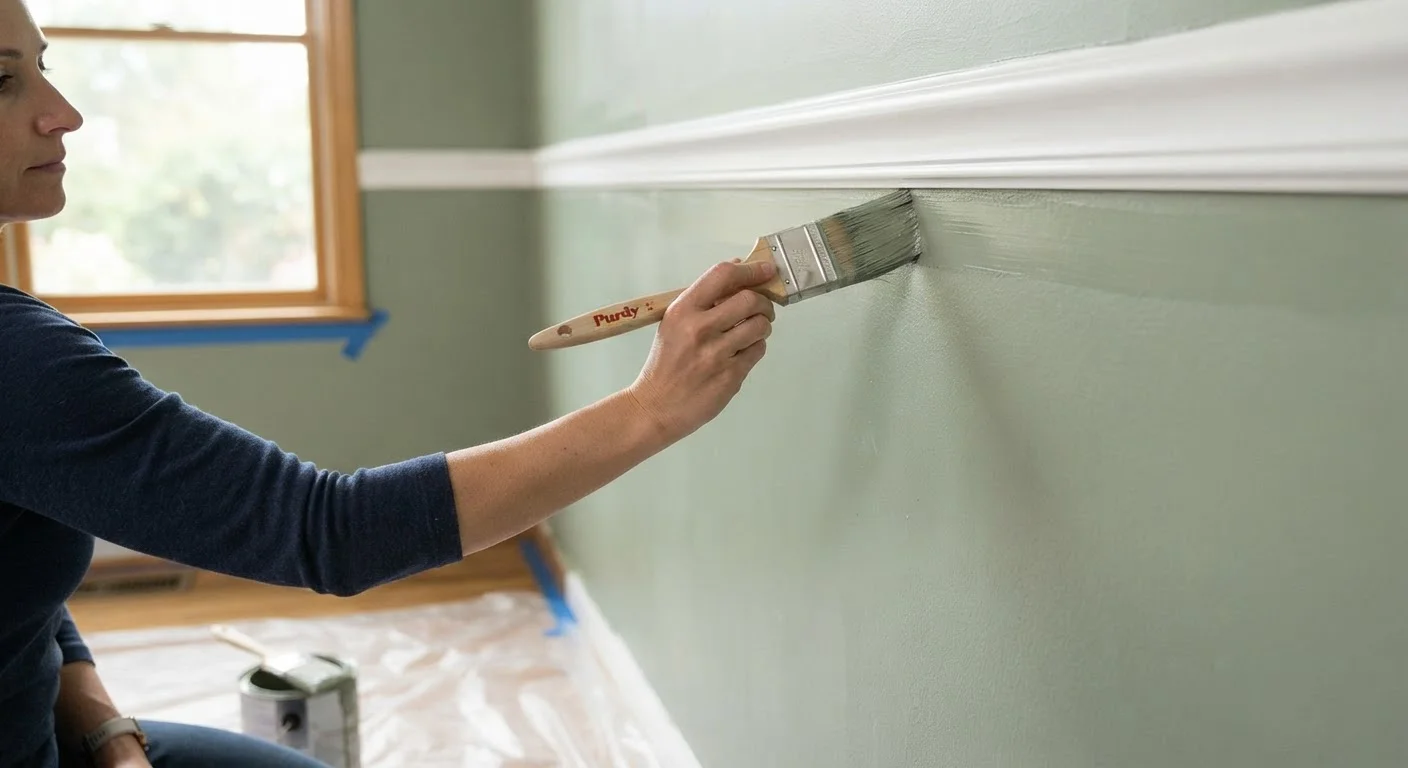
Cutting in refers to painting a precise band of color - typically 2 to 3 inches wide - along ceilings, baseboards, trim, and corners before using a roller on the open wall area. Doing this first means the roller can overlap the cut-in zone slightly while the paint is still wet, blending the two applications and eliminating visible lines.
Use a high-quality angled sash brush (2 to 2.5 inches wide) for cutting in. Load the brush by dipping about one-third of the bristle length into paint, then tap - don't wipe - both sides gently against the inside of the can. This retains enough paint for smooth application without dripping.
Hold the brush near the ferrule (the metal band), not the end of the handle, for better control. Rest your hand lightly against the wall to steady your stroke. Begin the brush a couple of inches away from the edge, then arc smoothly toward it as you draw the brush along. Maintain a consistent, light pressure - pressing too hard fans the bristles and causes streaks.
“The difference between a good paint job and a great one almost always comes down to patience at the edges. Anyone can roll a wall. Cutting in cleanly is where skill shows.”
— Bob Vila, Home improvement authority and host of home renovation television programming
Work in sections no larger than a few feet at a time. If the cut-in paint dries before you roll, you may see a visible seam where the two applications meet - called a lap mark. Keep a wet edge by rolling each section immediately after cutting in.
Not every situation calls for a full DIY approach. For rooms with intricate millwork, two-story walls, or extensive damage, consider when professional help makes sense. Our framework for deciding between DIY and hiring a pro can help you assess the scope realistically.
Quick-Start Checklist Before You Open the Can
Even experienced painters benefit from a pre-paint checklist. Moving quickly through these steps - or skipping them - is where most paint jobs go sideways.
Once your walls are painted, the same attention to detail applies to the surfaces surrounding them. Properly sealed and maintained window frames and door surrounds protect your paintwork and the structure behind it - our guide to maintaining windows and exterior doors covers what to inspect and when.
The content on this site is for informational purposes only and is not a substitute for professional advice. Always consult a qualified professional for guidance specific to your situation.