

Why Caulk Fails in the First Place
Caulk is one of the most cost-effective maintenance materials a homeowner can use - yet it's also one of the most frequently misapplied. When a caulk seal peels, cracks, or grows mold within months of application, the cause is almost always a preparation or technique error, not a product defect.
Understanding the failure modes helps you avoid them. Caulk bonds to surfaces through adhesion; anything that interferes with that bond - old residue, moisture, incompatible surfaces, or the wrong product - will cause the seal to let go. The sections below walk through the most common mistakes and how to correct them. For a broader look at sealing gaps throughout your home, see our guide to weatherproofing before winter.
Applying new caulk over old caulk without removing the existing layer.
Why it happens: Removing old caulk is tedious, so many homeowners skip it to save time, assuming a fresh layer will bond over the existing one.
Caulking a surface that is damp, humid, or not fully dry.
Why it happens: It's tempting to caulk right after cleaning a tub surround or after a rain - the surface looks clean, but trapped moisture prevents the caulk from bonding.
Using the wrong type of caulk for the location or material.
Why it happens: All caulk tubes look similar on a shelf, and many homeowners assume a single product works everywhere.
Skipping surface cleaning before application.
Why it happens: A surface that looks clean may still carry soap scum, dust, oils, or mold spores - all of which prevent adhesion.
Applying too thick a bead or leaving gaps in coverage.
Why it happens: Beginners often over-apply, thinking more material means a better seal; others rush and leave thin or missed sections.
Disturbing or exposing caulk to water before it has fully cured.
Why it happens: Product labeling can be easy to overlook, and homeowners assume caulk is ready once it feels dry to the touch.
Getting the Application Right
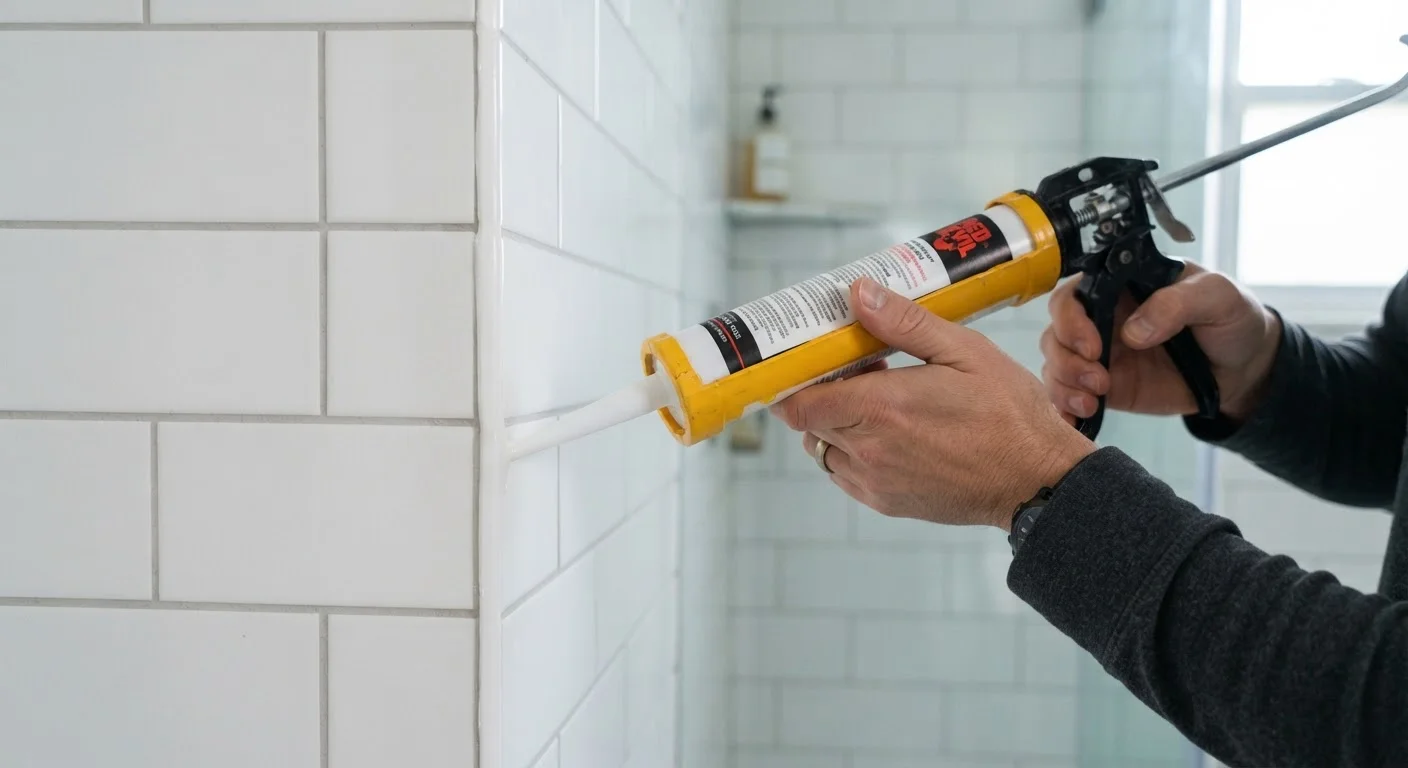
Once you've avoided the prep pitfalls, technique during application determines how long the seal holds. Cut the caulk tube nozzle at a 45-degree angle - a smaller opening (about 3/16 inch) gives you better control than a wide cut. Hold the caulk gun at a consistent angle and move steadily in one direction, letting the bead fill the joint rather than riding on top of it.
Don't Caulk Over Structural Gaps or Cracks
Caulk is a flexible filler designed for narrow expansion joints, not a structural repair material. Gaps wider than about half an inch, or cracks that indicate foundation or structural movement, should be evaluated by a licensed contractor before any sealing attempt. Applying caulk over a structural problem can mask damage while allowing it to worsen beneath the surface.
Immediately after laying the bead, smooth it with a damp finger or a caulk-finishing tool. This step, called tooling, presses the caulk into the joint and creates a concave surface that sheds water rather than collecting it. Work in manageable sections - roughly two to three feet at a time - before the surface begins to skin over.
Allow full cure time before exposing the joint to water or heavy use. Silicone caulks typically require 24 hours; latex formulas may be paintable sooner but still need time to cure fully. Check the product label for guidance specific to your formula. For more on keeping windows and door frames properly sealed, our article on maintaining windows and exterior doors covers routine inspection and upkeep in detail.
20%
Energy loss through air leaks in a typical home
The U.S. Department of Energy estimates that air leaks - many of which occur at improperly sealed joints - can account for around 20% of heating and cooling costs in a typical home.
1-5 years
Lifespan of improperly applied caulk
Industry guidance from caulk manufacturers indicates that poorly prepped or mismatched caulk applications commonly fail within one to five years, versus ten or more years for correctly installed seals.
Even experienced DIYers fall into habits that undermine their results. Our companion piece on what homeowners get wrong about caulking goes deeper on formula selection and layering errors worth reviewing before your next project.
The content on this site is for informational purposes only and is not a substitute for professional advice. Always consult a qualified professional for guidance specific to your situation.