

What Makes Mesh Wi-Fi Different from a Standard Router
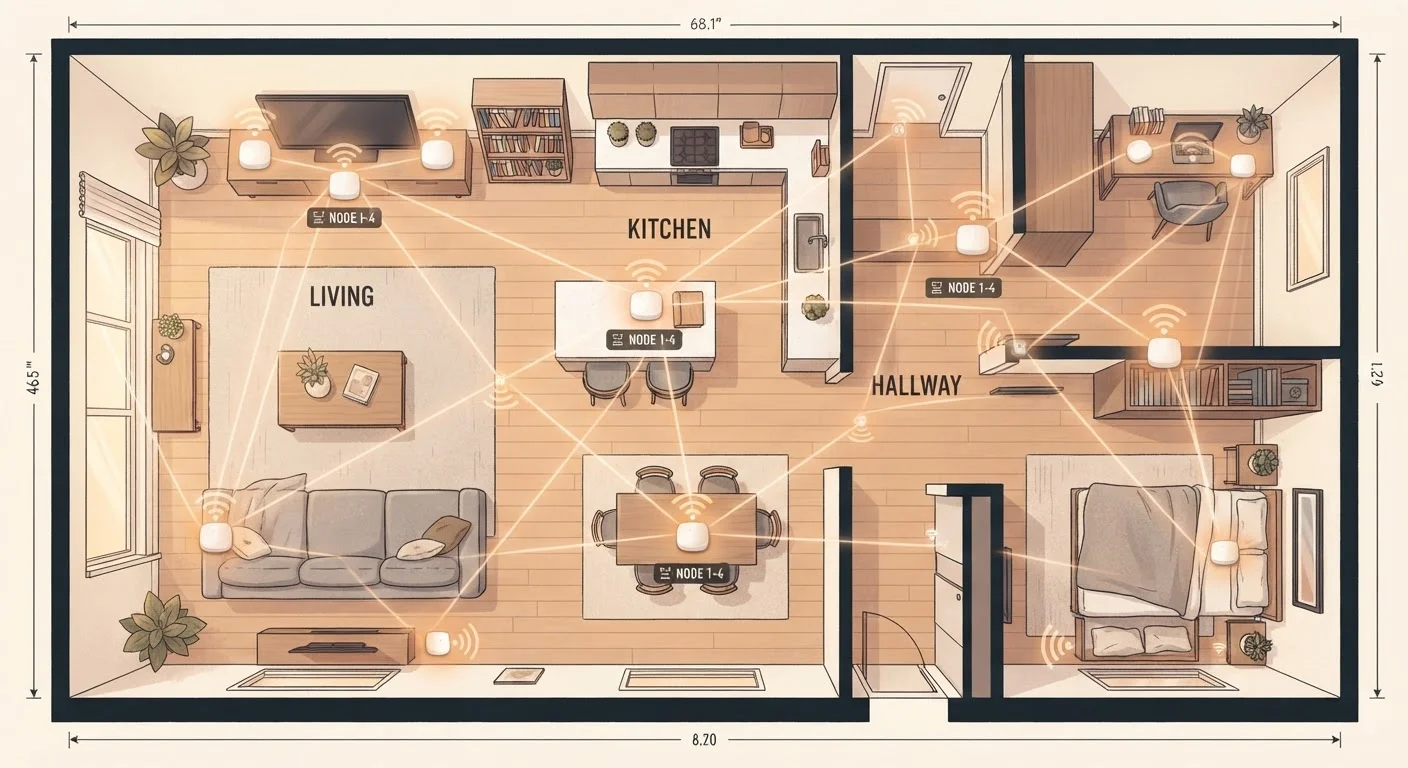
A traditional single router broadcasts Wi-Fi from one fixed point. Walls, floors, and distance degrade that signal rapidly — which is why the far corner of a two-story home often loads pages slowly while the living room next to the router streams effortlessly. Mesh Wi-Fi solves this by distributing multiple nodes throughout a space, each broadcasting the same network and communicating with each other to route traffic efficiently.
Unlike Wi-Fi extenders or repeaters — which create separate, often weaker networks — a mesh system operates as a single unified network. Your phone or laptop roams between nodes automatically without requiring you to manually switch connections. For a plain-language explanation of terms like SSID, backhaul, and bandwidth that you'll encounter during setup, see our Home Network Glossary.
Mesh systems are also particularly well-suited to homes with many smart devices, streaming systems, and wireless speakers. If you're planning a whole-home audio setup, a strong mesh network is an essential foundation.
Mesh Wi-Fi System
The primary node connects to your modem; satellite nodes extend coverage throughout your home.
Ethernet Cable
Connects the primary mesh node to your modem or ISP gateway for the initial wired handoff.
Smartphone with Companion App
Used to configure, name, and monitor your mesh network during and after setup.
Speed Test App or Website
Verifies signal strength and throughput at each node location after placement.
Before You Begin: What to Gather
Setup goes smoothly when you have everything in place before you start. Gather your equipment, confirm your modem is functioning normally, and install the manufacturer's app on your phone. Locate your ISP login credentials — you may be asked to enter them if your modem requires a PPPoE-type login rather than a standard DHCP connection.
What you will need
If you're curious about whether a newer Wi-Fi standard might affect your setup choices, our breakdown of Wi-Fi 6 vs. Wi-Fi 6E explains what the differences mean in a typical home environment.
Step-by-Step Setup
Follow these steps in order. Each builds on the previous, and skipping ahead — especially before firmware is current — can create connectivity problems that are harder to diagnose after the fact.
Position your primary node near the modem
Place the primary (main) node within reach of your modem or ISP gateway using the included Ethernet cable. This node acts as the entry point for all internet traffic. Keep it elevated — on a shelf rather than the floor — and away from thick walls, large appliances, or metal objects that absorb or reflect signals.
Download and open the manufacturer's app
Every major mesh system uses a dedicated smartphone app for setup. Open it and create an account or sign in, then follow the in-app prompts to begin adding your primary node. The app will scan for the device via Bluetooth or a temporary Wi-Fi signal, so keep your phone within a few feet of the node during this step.
Name your network and set a strong password
During setup, the app will prompt you to create a network name (SSID) and password. Choose a name that doesn't reveal your address or router brand, and set a password of at least 12 characters mixing letters, numbers, and symbols. Most mesh systems create a single unified SSID so all nodes share one network name — this enables seamless roaming as you move through your home.
Place satellite nodes strategically
Satellite nodes work by picking up the signal from the primary node (or from each other in a daisy-chain). For best performance, place each satellite node roughly halfway between the primary node and a dead zone — not inside the dead zone itself. A good rule: if you can barely get signal in a room, your satellite node is already too far away. Aim for overlapping coverage rather than maximum distance.
Common effective locations include hallway junctions, centrally located bedrooms, and stairway landings. Avoid placing nodes inside cabinets, behind televisions, or next to microwave ovens.
Add each satellite node through the app
With the satellite node plugged in and powered on, return to the app and select the option to add a new node. The process mirrors Step 2 — the app discovers the device and links it to your existing mesh network automatically. Repeat this for every additional node in your system, adding them one at a time.
Run a speed test and verify coverage
Once all nodes are active, walk to the areas that previously had poor signal and run a speed test using a browser or dedicated app. Compare results near each satellite node against those near the primary node. Some variation is normal, but speeds should be usably consistent throughout your home. If a specific area still underperforms, adjust the nearest satellite node's position and retest.
Update firmware and review security settings
Immediately after setup, check the app for firmware updates for all nodes. Manufacturers release updates that patch security vulnerabilities and improve performance. Enable automatic updates if the option is available. Also confirm that remote management is disabled unless you specifically need it, and review any guest network settings the app may have created by default.
Wired Backhaul Improves Performance
If your home is pre-wired with Ethernet ports in multiple rooms, connecting satellite nodes via cable (rather than wirelessly) is called a "wired backhaul." This dramatically improves throughput and reduces latency across your mesh network. Check your system's documentation — most mesh systems support this option even if wireless backhaul is the default.
Troubleshooting Dead Zones and Slow Spots
Even after careful placement, some homes have persistent trouble spots. If a specific room still gets weak signal, consider these adjustments before adding another node:
- Reposition, don't just add: A node placed 10 feet closer to the problem area often outperforms adding a fourth node to an already-strained wireless chain.
- Check for interference: Baby monitors, older cordless phones, and Bluetooth devices can compete on the 2.4 GHz band. Identify and relocate conflicting devices if possible.
- Restart the full system: Power down all nodes starting from satellite nodes first, then the primary. Wait 30 seconds, then power them on in reverse order. Many intermittent issues resolve with a clean restart.
- Review the app's network map: Most mesh apps display which nodes are connected to which, and flag nodes with weak backhaul connections. A satellite node connecting through two hops wirelessly will always be slower than one connecting directly to the primary.
Don't Rely Solely on the Default Password
Many mesh systems ship with a default admin password printed on the device. Change it before completing setup — default credentials are publicly documented and represent an easy entry point for anyone with access to your network. Use a unique password distinct from your Wi-Fi password.
Once your network is stable, security should be your immediate next priority. Our guide on keeping smart home devices secure after setup covers firmware habits, default passwords, and network segmentation in practical detail.
Bridge Mode May Require ISP Coordination
Enabling bridge mode on your ISP's gateway can sometimes disrupt your service or require a call to your provider to reconfigure their equipment remotely. Before toggling bridge mode, confirm with your ISP that your account type supports it. If you experience a total loss of connectivity afterward, a factory reset of the ISP device and a call to their support line will generally restore service.
The content on this site is for informational purposes only and is not a substitute for professional advice. Always consult a qualified professional for guidance specific to your situation.